


Auckland property guide
Water Leak Detection for Auckland Properties
How to distinguish building, membrane and plumbing leaks, understand common investigation methods, and avoid repairs that only hide the symptom.
A stain on a ceiling or damp patch on a wall tells you where water became visible, not necessarily where it entered. Water can travel along framing, insulation, membranes, fixings and concrete before it appears indoors. Effective leak detection starts by tracing that path and testing the most likely entry points in a controlled sequence.
First identify the type of moisture problem
Different moisture sources can create similar marks. The weather pattern, location and timing of the problem help determine which specialist and testing method are appropriate.
Building-envelope leak
Often linked to rain, wind direction or ponding. Likely areas include roofs, decks, cladding junctions, flashings, windows and below-ground walls.
Plumbing leak
May continue during dry weather or relate to water use. Supply pipes, wastes, showers and internal drainage should be checked by an appropriate plumbing specialist.
Condensation or humidity
Often appears on cold surfaces or in poorly ventilated spaces. It can resemble a leak, but the solution may involve ventilation, insulation or indoor moisture control.
Warning signs worth investigating
- Ceiling stains, bubbling paint, swollen linings or damp insulation after rain.
- A musty smell, visible mould or recurring dampness around one junction.
- Water appearing below a deck, balcony, internal gutter or low-slope roof.
- Blisters, splits, lifted seams or failed sealant on an exposed membrane.
- Ponding water, slow outlets or debris collecting around drainage points.
- Damp basement walls, floor-to-wall junctions or white mineral deposits on concrete.
- An unexplained increase in water use, which may indicate a plumbing leak rather than rain entry.
Take note of when the problem occurs. Heavy rain, wind from one direction, shower use, a full bath, an operating appliance or long periods of high indoor humidity can each point toward a different source.
How a professional leak investigation works
- Record the pattern. The investigation starts with where and when the moisture appears, recent weather, earlier repairs and any changes to the building.
- Inspect the likely water path. The visible damage is compared with the roof, deck, wall, drainage and service layout above or beside it.
- Map moisture. Non-destructive readings can help show the affected area and distinguish a local mark from a wider moisture path.
- Test one variable at a time. Controlled water, dye, electronic or specialist pipe testing may be used where the construction and access make that method suitable.
- Confirm and document. Findings, limitations and recommended opening-up or repair work should be recorded before finishes are replaced.
Common leak detection methods and their limits
No single tool can diagnose every leak. A useful investigation combines the building history, visual evidence and a method suited to the material being tested.
| Method | Often useful for | What it can indicate | Important limits |
|---|---|---|---|
| Visual inspection | Roofs, decks, gutters, flashings, penetrations and interior damage | Open joints, damaged membranes, blocked drainage and plausible water paths | Hidden defects may remain concealed; appearance alone does not prove the source |
| Moisture meter or mapping | Linings, timber, concrete and comparing affected with apparently dry areas | Relative moisture patterns and the possible extent of dampness | Readings depend on the material and equipment; they do not identify the entry point by themselves |
| Infrared thermography | Scanning larger surfaces for temperature patterns associated with moisture | Anomalies that help target closer inspection or moisture readings | Temperature differences can have other causes and need confirmation |
| Controlled hose or dye test | Specific exterior junctions, flashings, windows, outlets or drainage routes | Whether water applied to one isolated area reproduces the leak | Poorly controlled testing can spread water, create damage or produce a misleading result |
| Electronic leak detection | Compatible exposed waterproofing membranes | A breach in the membrane field under the conditions required by the testing system | Not every membrane or roof build-up is suitable; specialist equipment and preparation are required |
| Pressure, acoustic or tracer-gas testing | Concealed water pipes and selected plumbing systems | Loss of pressure or the likely location of escaping water or gas | This is specialist plumbing work and may not diagnose rainwater or membrane entry |
Testing should be selected and controlled for the specific construction. Some investigations still require targeted opening-up to confirm the condition behind a lining or below a membrane.
Where waterproofing leaks commonly begin
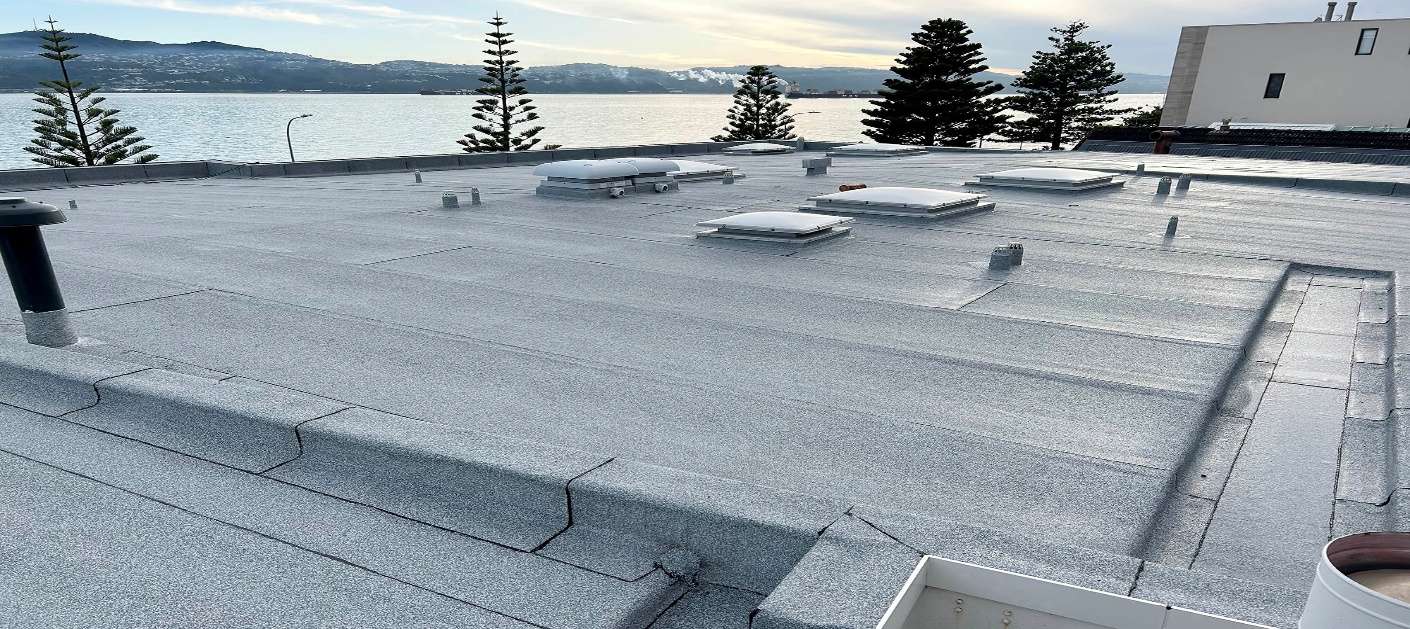
The large open area of a membrane is often less complicated than the details around it. Water commonly finds a route at:
- Outlets, overflows and internal gutters where blocked drainage or weak junctions allow water to build up.
- Parapets, upstands and changes of plane where the membrane must rise and terminate securely.
- Pipes, vents, posts and fixings that interrupt the waterproofing layer.
- Laps, seams and perimeter edges affected by movement, contamination or poor bonding.
- Door thresholds and wall transitions where several trades and materials meet.
- Basement wall and slab junctions exposed to moisture in the surrounding soil.
Why the leak may appear away from the source
Once water passes the outer layer, gravity is only one influence. It may run along a joist, roof deck, fastener, service penetration or the top of a ceiling lining. Insulation can absorb and redistribute it, while a vapour barrier or membrane can carry it sideways until it reaches an opening.
This explains why sealing directly above a stain often fails. A good investigation works outward from the damage, checks the construction sequence and follows the most plausible routes back toward the exterior.
What to avoid before the source is confirmed
- Do not cover the stain or replace wet linings before the moisture path has been recorded.
- Do not apply incompatible sealants across every joint; they can hide evidence and make the correct repair harder.
- Do not flood a roof, deck or interior junction without confirming drainage, loading and the risk to occupied spaces.
- Do not assume a plumbing test will identify rain entry, or that a roof test will diagnose a concealed supply pipe.
- Do not rely on one thermal image or moisture reading without comparing it with the surrounding materials and conditions.
Information that helps before an assessment
A short record can make intermittent leaks much easier to trace. If it is safe to do so, collect:
- Photos of the damage and the wider room or exterior area.
- The date, rainfall and wind direction when the leak appeared.
- Whether the leak occurs during dry weather or after using plumbing fixtures.
- Previous repair locations, product names, warranties and drawings.
- Access information for the roof, ceiling space, deck or basement.
Repair after leak detection
The repair should match the confirmed cause and the existing system. A local, compatible membrane repair may be appropriate when the defect is isolated and the surrounding substrate is sound. Wider renewal may be needed when moisture is trapped below the system, seams are failing across a large area, the substrate has deteriorated or drainage and junctions need redesign.
If the problem is on a flat or low-slope roof, our roof waterproofing guide explains common systems, warning signs and the difference between a targeted repair and full renewal.
Leak detection FAQs
Can a thermal camera find the exact leak?
It can reveal temperature patterns that may be associated with moisture, but it does not prove where water entered. Findings should be compared with moisture readings, construction details and site conditions.
Should a roof be flood tested?
Only when the assembly, drainage, structure and occupied areas below make it appropriate and the test is professionally controlled. Flood testing is not a safe default for every roof or deck.
Who should investigate a suspected pipe leak?
A licensed plumbing professional should assess water-supply, waste or other plumbing-system leaks. A waterproofing assessment is more appropriate when the evidence points to rain entry, a membrane, deck, roof or below-ground building element.
Can leak detection avoid opening the building?
Often it can narrow the search and reduce unnecessary damage, but targeted opening-up may still be required to confirm concealed conditions, dry the assembly and complete a durable repair.
Need help tracing a recurring leak?
Tell A2Z Waterproofing where the moisture appears, when it happens and what has already been tried. We can assess likely building-envelope and membrane water paths and help plan the next practical step for your Auckland property.
For general compliance context, see MBIE’s guidance on Building Code clause E2 – External Moisture. The appropriate investigation, repair and compliance pathway must still be confirmed for the specific building.